
Building a forum with Rails and TDD - Initial Setup
Hey everyone, Rodrigo here. This is going to be a very long series of posts where my objective will be how to build a Forum with Ruby on Rails. Initially, my plan is to have only blog posts describing the full process, but eventually, I can turn it into a series of videos, let’s see how far it goes.
Scaffolding the project
For this post, the goal is to to a basic setup of the project, think about project minimum data modeling, and some data to work on the next steps. I will assume that you already have your environment ready to code, but if not, please take a look at this post, it explains everything you need to install Rails on your Windows machine using WSL.
To scaffold a project, Rails makes it very simple, just run the command rails new, and wait for a few moments while the project files are generated.
rails new forum
Good, after project generations, you can run “rails server” and you should see something like this in your browser:
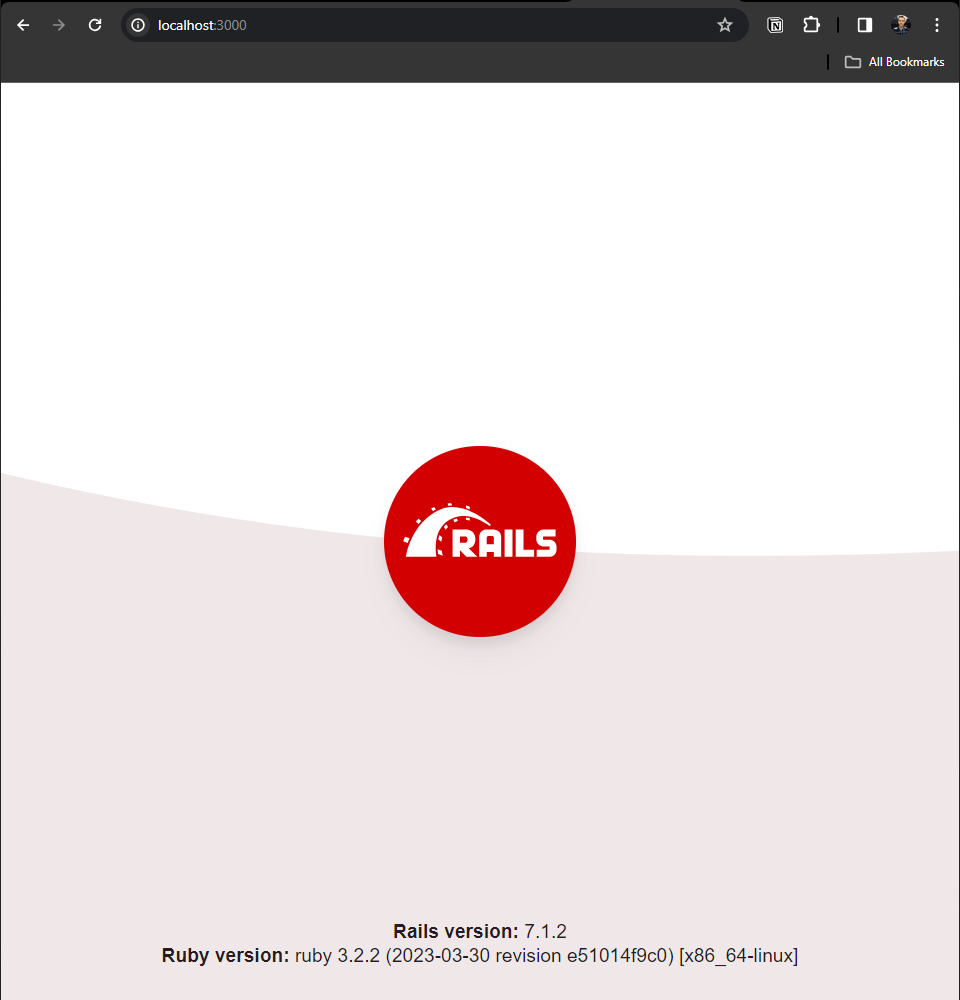
This is the home page of a green field Ruby on Rails project, you can edit it later, but before doing it, let’s think about what we will build in terms of data structure.
Project data structure
Let’s think about what is a forum. Every forum that I know has this central concept called “Thread”, which is the structure that usually holds all information regarding the thread itself, such as its body, creation date, title, and so on. So, I think we can safely assume that Thread is going to be one of our project models.
Stated that we can think about other elements that a thread usually contains, like replies. Every thread usually contains one or more replies, so we can define that Reply is another model that we will need in our project.
Last, we notice that both Thread and Reply, usually are associated with a user. Of course, we can define this user as just a string containing his name, on both of these models, but this would make it harder to query for replies of a specific user or user threads, so it’s better to already associate a model to it, so we can have additional properties, like its avatar, address and more.
I good practice would be, to create a file name README.md at the root of the project, and there you can put these sorts of definitions, so people who are not familiar with your project, can have a quick introduction about the major definitions of the project and other useful information about how to run the project, deploy it and so on.
Creating the models
Great, so we already decided which models will be needed for this forum project, so we can move ahead and create them using the rails scaffold.
Let’s start with the Thread model. To create run the command:
bin/rails generate model ForumThread
This is going to generate a file called db/migrate/20231118124937_create_forum_threads.rb, you can access the db/migrate folder to check it. Note that your migration file can vary a bit given Rails added a timestamp at the beginning of each migration file name.
class CreateForumThreads < ActiveRecord::Migration[7.1]
  def change
    create_table :forum_threads do |t|

      t.timestamps
    end
  end
end
At this point, our ForumThread model will have only one field, which is the timestamp, that comes by default in every Rails model. Let’s add, two more fields, a title, and a body.
class CreateForumThreads < ActiveRecord::Migration[7.1]
  def change
    create_table :forum_threads do |t|
      t.string :title
      t.text :body

      t.timestamps
    end
  end
end
This should be enough for now
bin/rails db:migrate
By default, Rails will create a SQLite3 database for you, but of course, you can configure any other database like MySQL or Postgres.
Let me open my sqlite3 extension in VS code and take a look at what was generated by the migrate command:
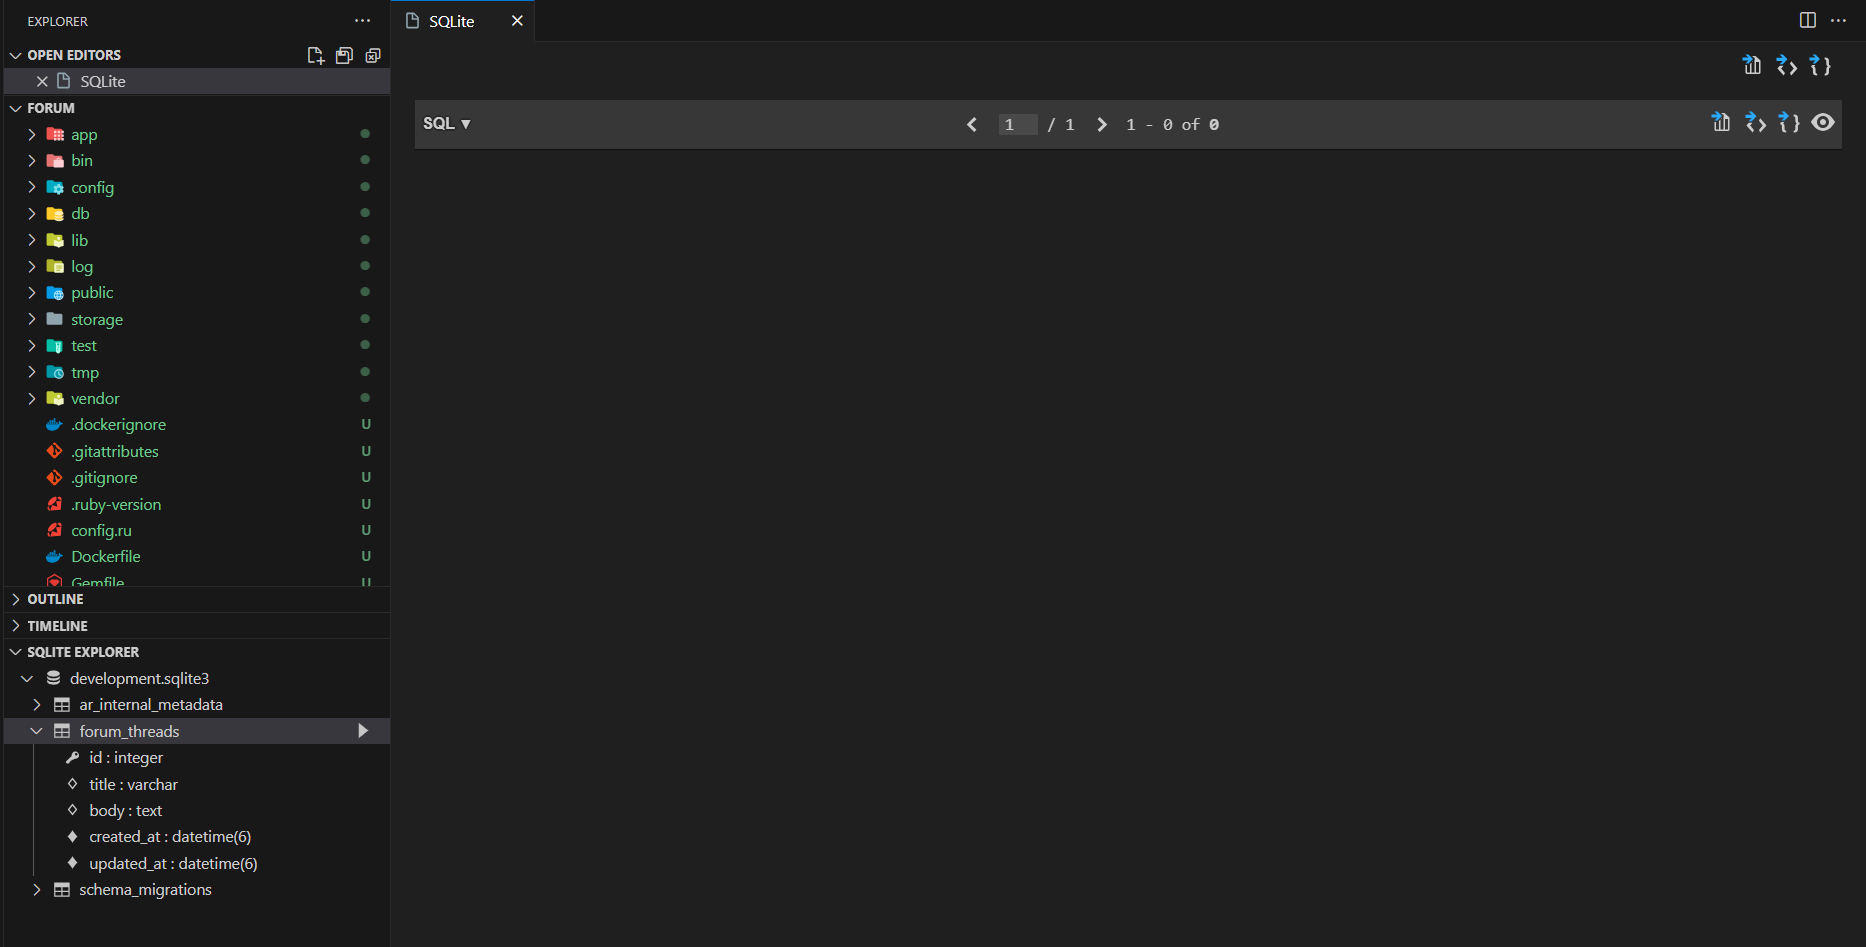
An empty database was generated, which is just what we expected.
Moving on, let’s create the thread replies in the same way we did in the Thread model:
bin/rails generate model Reply
Another empty model was generated, so in this case, we just need to add the thread_id field and a text field for the body of the generated migration:
class CreateReplies < ActiveRecord::Migration[7.1]
  def change
    create_table :replies do |t|
      t.text :body
      t.timestamps
    end

    add_reference :replies, :thread
  end
end
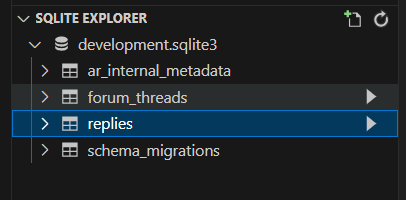
Note the command add_reference, this is a nice way to create a column thread_id pointing to the thread table. After adjusting the migration, we can run a new bin/rails db:migrate command to apply the migration and create the Reply table. Our database should look like this:
Great, this was the last model we needed to have our basic database model in place. Let’s explore a bit of data seed to add to our project and help our tests for the next sections.
Data seeding in Rails
There are many ways to create data seed in Rails, let’s explore a basic one here: I will start with a quick and dirt solution that uses only what we have out-of-box in Rails, and then I will refactor it a bit using a gem called faker which allow us to have a more robust data sample.
Inside the file db/seeds.rb let’s define the basic scheme for a couple of threads for our application tests:
ForumThread.create(title: "How to create a post", body: "Body text here")
ForumThread.create(title: "How to create a blog", body: "Body text here, Lorem ipsum dolor sit amet, consectetur adipiscing elit")
This is a very simple setup, as you can see we are creating two registers here, with some fixed values for the title and body of our threads. We can do the same for the replies:
ForumThread.create(title: "How to create a post", body: "Body text here")
ForumThread.create(title: "How to create a blog", body: "Body text here, Lorem ipsum dolor sit amet, consectetur adipiscing elit")

Reply.create(body: "This is a reply sample for thread one", thread_id: 1)
Reply.create(body: "This is a reply sample for thread two", thread_id: 2)
And that’s all, It is very simple but a bit limited, given if we want to generate a wider set of values, we need to write every single one of them in our file. So let’s improve this model a bit using the faker gem.
Refactoring data seed with Faker
Let’s begin adding the faker gem in the Gemfile:
group :development, :test do
  # See https://guides.rubyonrails.org/debugging_rails_applications.html#debugging-with-the-debug-gem
  gem "debug", platforms: %i[ mri windows ]
  gem "faker"
end
After that we need to run the bundle install command, to update our dependencies. Good, with Faker in place, we can refactor our thread data seed file to use randomly generated values instead of fixed ones. Let’s start with our threads first, so I can give you the general idea here:
2.times do |i|
   ForumThread.create(
      title: Faker::Lorem.sentence,
      body: Faker::Lorem.paragraph
   )
end

Reply.create(body: "This is a reply sample for thread one", thread_id: 1)
Reply.create(body: "This is a reply sample for thread two", thread_id: 2)
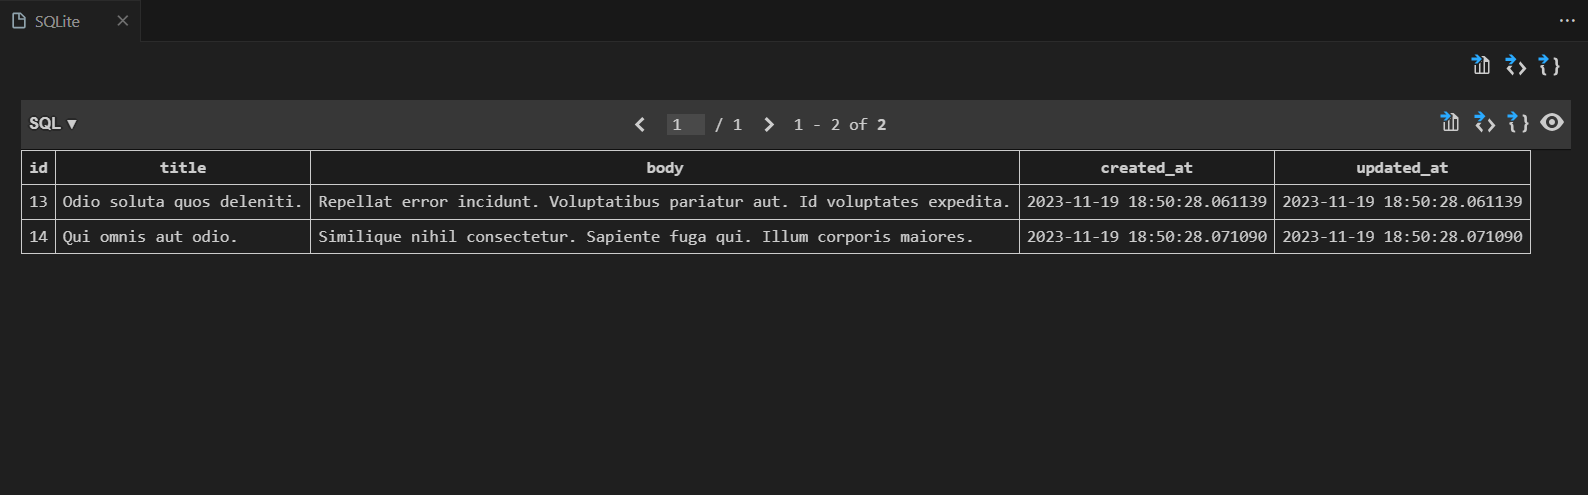
So, I just updated the fixed values for the Faker library methods, so now every time that we run the data seed, new values will be generated, and given we don’t need to replicate code anymore, we can encapsulate everything in a loop and generated how many threads we want. Running again the seed command, we can see what was generated in the forum_threads table:
The next step will be to refactor replies generation, and let’s take advantage of this new model, to associate a bunch of replies with every thread generated:
2.times do |i|
   thread = ForumThread.create(
      title: Faker::Lorem.sentence,
      body: Faker::Lorem.paragraph
   )

   5.times do |j|
      Reply.create(
         body: Faker::Lorem.paragraph,
         thread_id: thread.id
      )
   end
end
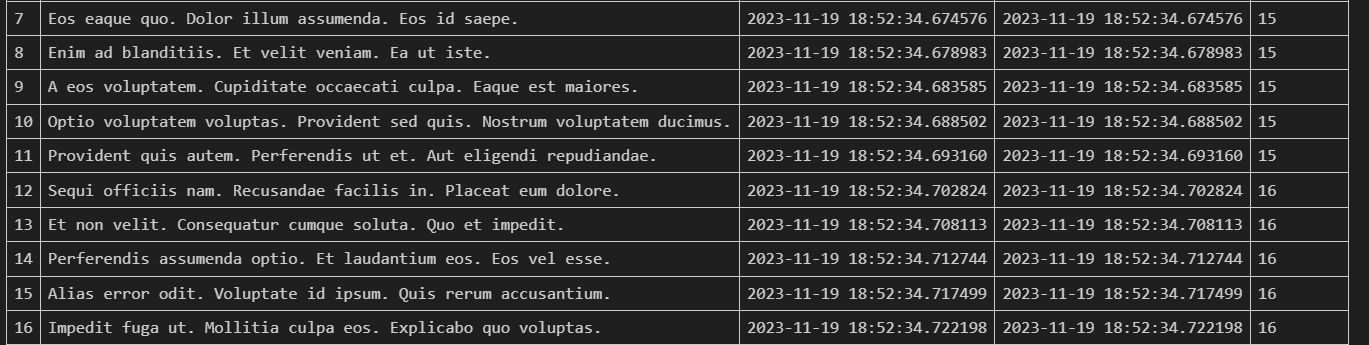
Very the same as what we did before, we are refactoring Reply.create to use a random generated value in the body, and we are storing the thread generated, so we can associate its ID for the list of replies that we are generating. Our replies should look like this in the database:
If you are interested in knowing where I got these Fakers methods, you can check its documentation on its GitHub Page, you will find a bunch of examples about how to use the library in different scenarios, and also a complete list of all generators Faker has, this is a pretty powerful gem that can be used in many different scenarios.
Well, I think that’s it, at this point, we are almost ready regarding our project setup. In the next post, we will configure users and also put some data on the screen, see you there.