
Build a forum with Rails and TDD - The reply form
Hey everyone, Rodrigo here again. In this post, we are going to continue building our forum in Rails, and for this specific post the focus will be on giving users tools to create replies and threads, let’s jump into it.
Doing some trim in the application layout
The series is progressing a bit, so I think it’s time to dedicate a bit of time to make things a bit prettier here. Let’s begin adding tailwindcss to our project. Tailwindcss is a utility-first framework for CSS that I discovered some years ago, and is massive famous nowadays. It speed up a lot of CSS creation after a small curve of learning. By the way, if you want to hear more about tailwindcsshere, please let me know in the comments.
Okay, presentations are done, now, we need to open the file app/views/layouts/application.html.erb and add tailwind on top of it:
<%= stylesheet_link_tag "application", "data-turbo-track": "reload" %>
    <%= javascript_importmap_tags %>
      <script src="https://cdn.tailwindcss.com"></script>

  </head>
This is not a recommended way to use tailwindcss in production, given it will add a huge payload in the page loading, but for development purposes, we are good for this time being. And given we already opened this file, why not add a navigation bar in our application, it will be useful in a few moments. To do this, we can just paste the HTML above the <%= yield %> here, or we can create a partial, I will personally create a partial named navbar with the following piece of code:
<nav class="relative select-none bg-gray-800 w-full mb-10">
   <div class="container lg:flex lg:items-stretch">
      <div class="flex flex-no-shrink items-stretch h-12">
         <a href="#" class="flex-no-grow flex-no-shrink relative py-2 px-4 dd  text-white no-underline flex items-center hover:bg-grey-dark">Forum</a>
      </div>
      <div class="lg:flex lg:items-stretch lg:flex-no-shrink lg:flex-grow">
         <div class="lg:flex lg:items-stretch lg:justify-end ml-auto">
         <a href="<%= forum_threads_url() %>" class="flex-no-grow flex-no-shrink relative py-2 px-4 dd  text-white no-underline flex items-center hover:bg-grey-dark">Threads</a>
         <a href="<%= new_user_session_url() %>" class="flex-no-grow flex-no-shrink relative py-2 px-4 dd  text-white no-underline flex items-center hover:bg-grey-dark">Login</a>
         <a href="<%= new_user_registration_url() %>" class="flex-no-grow flex-no-shrink relative py-2 px-4 dd  text-white no-underline flex items-center hover:bg-grey-dark">Register</a>
         </div>
      </div>
   </div>
</nav>
The magic thing about tailwindcss is these classes like flex, bg-gray-800, and so on, that define a single property in its class, so just looking at the HTML we can know that that particular element is stylized.
Another point that is worth mentioning is how I created the links for Threads, Login, and Register. You are already familiar with the URL helpers generated by routes, right? So what could be new here are the new_user_session_url and new_user_registration_url helpers. These are the same helpers we have for routes, the difference is that they came out-of-box from Devise, our auth gem.
By the way, if you give a try on these links, you should see the native Devise login and signup forms. This is another great feature for Devise that speeds up development time, we don’t need to worry about a log of auth things, they are just there, ready to be used. And it will, in a few moments.
Well, after the partial creation, we need to add it in the application.html.erb:
<body>
  <%= render "partials/navbar" %>

  <%= yield %>
</body>
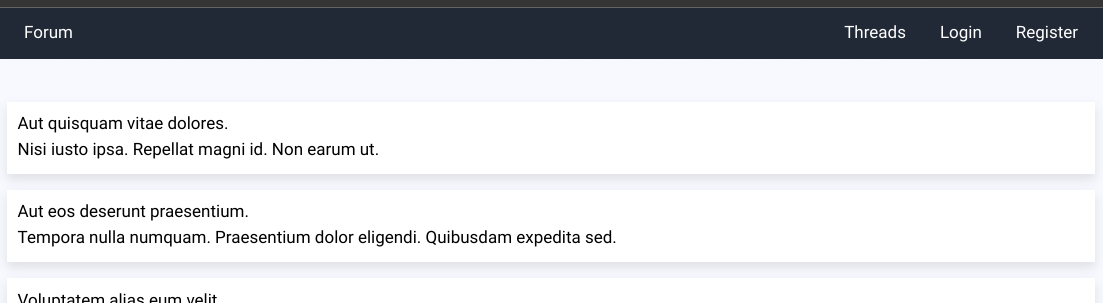
If everything goes well, our navbar should look like this:
Threads and replies also need some care
Great, now we have the foundation layout of the application, let’s style the threads page and the thread detail page. Open the file app/views/forum_threads/index.html.erb and update it accordingly with the layout below.
<div class="container">
    <% @threads.each do | thread | %>
        <a href="/forum_threads/<%= thread.id %>" class="bg-white block mb-5 p-5 hover:shadow-md">
            <h4 class="text-xl text-gray-800"><%= thread.title %></h4>
            <article class="text-gray-5 00"><%= thread.body %></article>
        </a>
    <% end %>
</div>
If everything went well, the threads list should look like this now:

We still need to style both the login and register pages, but let’s leave it for another time. Now, time to go back to the reply form feature.
Creating a reply form
Opening the file app/views/forum_threads/show.html.erb, we will add a new partial section there named reply_form that will be our user’s reply form:
<div class="container">
   <div class="bg-white p-5">
      <h1 class="text-3xl mb-10"><%= @thread.title %></h1>
      <article class="text-gray-700 mb-10"><%= @thread.body %></article>

      <%= render "partials/reply_form" %>

      <%= render "partials/replies" %>
   </div>
</div>
I opted to put the reply form above the replies section, I think this is more friendly for users, given if they want to comment on the post right away, they don’t need to scroll all the way down the replies section.
Now, we need to create a form called _reply_form.html.erb inside the partials folder that we created inside the views folder:
<div class="mb-10">
   <% if user_signed_in? %>
      <%= form_with(model: @reply, url: forum_thread_replies_url(@thread)) do |form| %>
         <div>
            <%= form.text_area :body, rows: 8, class:"border border-gray-300 w-1/2" %>
            <div>
               <%= form.submit class: "bg-gray-800 text-white rounded-lg p-5"  %>
            </div>
         </div>
      <% end %>
   <% end %>
</div>
Given only users who are authenticated can post comments in our forum, it makes sense to show the form only for users who can indeed make a reply in a thread.
Inside of this condition, we have the reply form itself. Rails has many handy helpers to create forms, let’s talk a bit about the one called form_with. We have three parameters there, which are model and url. url is useful in our case, given we have a parent that is a thread for every reply that we want to create, so we need to provide the URL for the POST method of the forum thread replies creation because Rails will not figure out it by itself. Last, but not least, the parameter model will hold the information that the user provides on the fields of the page.
Well, we still don’t have a user to proper test, so click on the Register button, and the Devise standard registration form should open:
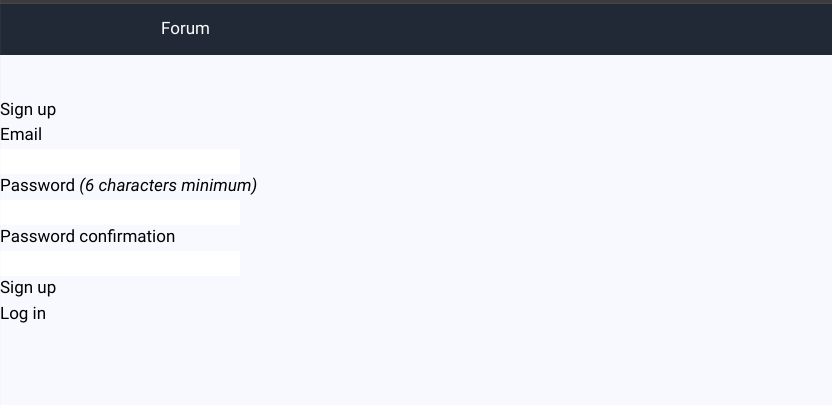
Well, the layout is completely broken, but it should work for now. Put a made-up email like john@doe.com, create a password, and we are good to go. After user creation, you will be redirected to the home page. Access the thread page again, and now you should see the form. Give it a try:

You will notice that after the comment creation, we need to refresh the page to the new reply shown in there on the page. This is happening because we didn’t tell Rails to do anything after the reply creation, let’s fix it by adding a redirect_to in the replies_controller:
def create
			id = params.extract_value(:forum_thread_id)[0]
      ...

      @reply.save

      **redirect_to(forum_thread_url(id))**
   end
If we give it a new shot, it should work fine.
Now, we need to take care of users that are not authenticated, currently, they don’t see any indication they need to log in to see the form, so let’s add an else condition on our reply form partial:
<div class="mb-10">
   <% if user_signed_in? %>
      <%= form_with(model: @reply, url: forum_thread_replies_url(@thread)) do |form| %>
         <div>
            <%= form.text_area :body, rows: 8, class:"border border-gray-300 w-1/2" %>
            <div>
               <%= form.submit class: "bg-gray-800 text-white rounded-lg p-5"  %>
            </div>
         </div>
      <% end %>

   <% else %>
      <div class="my-10">
         <p class="text-center">
            Please <a href="<%= new_user_session_url() %>>">signin</a> to participate in this discussion
         </p>
      </div>
   <% end %>
</div>
Great, now users should see a message telling them to go to the login page to properly sign in before making comments.
And that’s all for this post folks. For the next post, we will do something very similar here, but regarding the creation of the thread. See you there.